This is a step by step tutorial on how to make your own wooden bow tie. Some wood working wizardry and sewing skills will be required but at the end of this video you’ll be looking smooth with a bow tie made of wood!
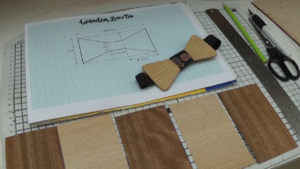
Preparing the Template & Wood
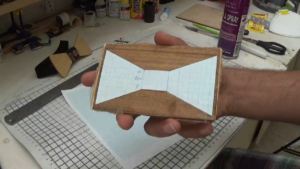
To make my bow-tie I drew up a template on a piece of graph paper. I basically estimated these dimensions from an old bow tie but you can design yours however you like.
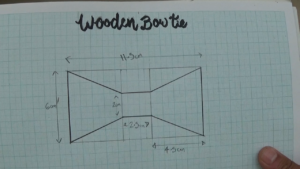
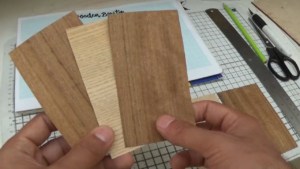
The first step was to prepare the wood. I decided to make a lamination with wood veneers, this way I could use exotic woods or bits of scrap that would otherwise go to waste.
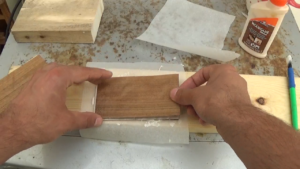
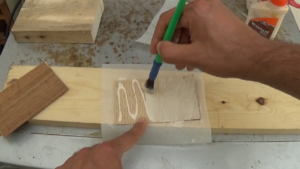
I cut 5 pieces into sections that were 12x7cm – ensuring that on each layer of the lamination the grain was running in opposite directions to make a strong ply. I simply glued all of the layers together with wood glue and left a heavy object on top over night.
When the glue was cured I cut out my template using a craft knife and stuck it to the back of the wood. A simple spray adhesive worked perfectly.
Shaping the Wooden Bow Tie
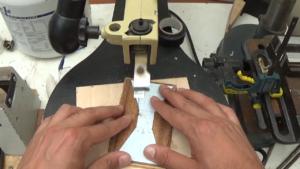
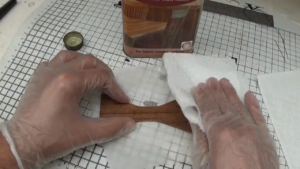
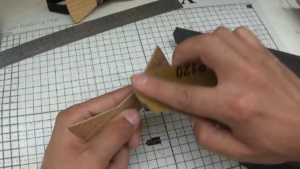
To shape the bow tie I cut around the template on a scroll saw but this could easily be done on a bandsaw or by hand with a coping saw. After my basic shape was cut out it was easy to smooth over the edges with a bit of sandpaper. I used a few progressively finer grits to finish the shaping to create a smooth finish and applied a few layers of Tung Oil to make the grain pop!
Sewing The Neck Tie
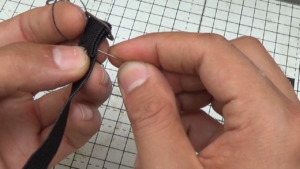
Now for the difficult part: sewing! I double threaded a needle with black thread to match the elastic that would go around my neck.
The first part to sew was the little buckle thingy that would make the tie adjustable. When this was secure I fed the rest of the elastic through the buckle. The hook should be on the loop of elastic that’s created when you feed the other end of elastic through the buckle.
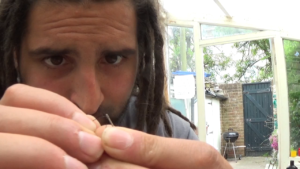
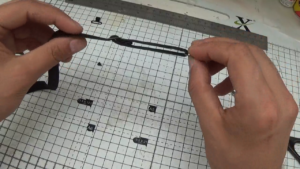
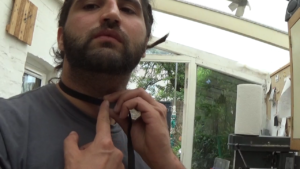
To figure out how much elastic I needed to make my bow-tie fit properly I wrapped the elastic around my neck and cut off the excess. The hook was then sewn on to the end I’d just cut.
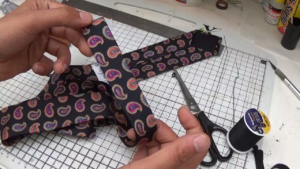
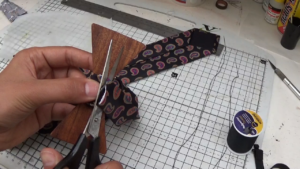
To decorate the middle of my bow tie I used an old tie. I cut a section out of the tie that was about 2.5xthe thickness if the middle of the bow tie.
Glue Up
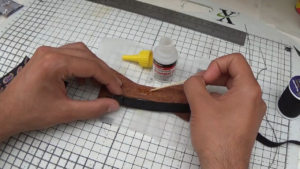
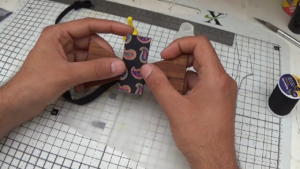
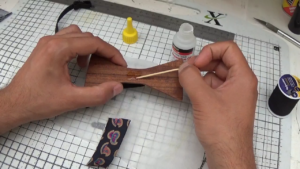
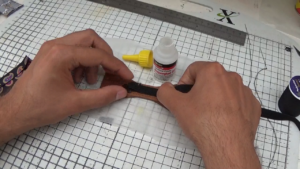
Next I glued the elastic neck tie to the wood with the hook facing outwards and used a small amount of glue to position the fabric in the middle of the bow tie. A hot glue gun or superglue would be perfect for this.
Sewing the back
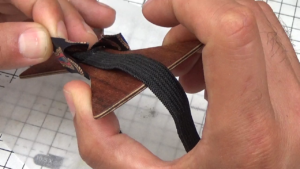
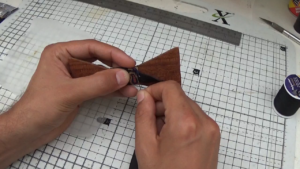
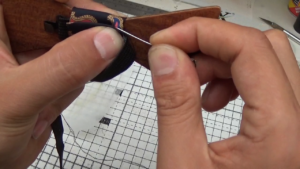
The final step was to sew up the back of the bow tie and to do this I used a technique called the “Slip stitch” or “blind stitch”.
To do this I folded over one section of the fabric to form a hem.
Starting from inside the hem I passed the needle through to hide the knot inside. Where the needle emerged I picked up a few threads from the other side of the fabric and passed the needle back down into the fold of the hem. I simply repeated this process until the back was sewn up.
Enjoy Your Wooden Bow Tie
And that’s how I made a wooden bow tie with an adjustable strap. The finished piece fit beautifully and is very comfortable to wear!
Thanks for watching if you like the video then share it, subscribe if you want to see more of my work and leave a comment with any questions!
Subscribe to see more wood working projects on my YouTube channel!


